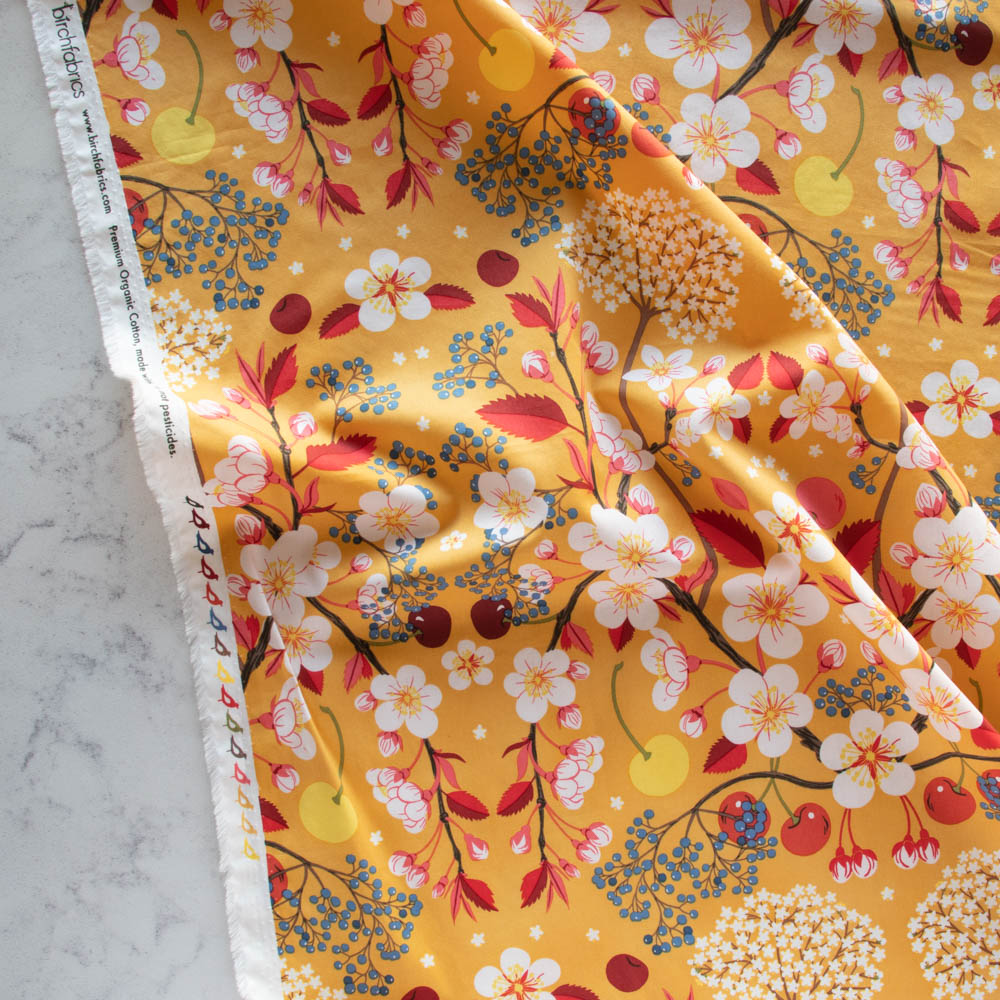


I got a sparkly new laptop just before Christmas and I have been a little precious about it! This padded organic canvas laptop sleeve tutorial, uses the latest canvas collection, part of the flight range from Birch Fabrics, and provides stylish protection for your laptop. It is a cinch to put together, but you can fancy it up with little extras, like contrast stitching and buttons for a splash of colour (as shown) or a pocket or elasticated strap for keeping your cables tidy (not shown)!
 |
|
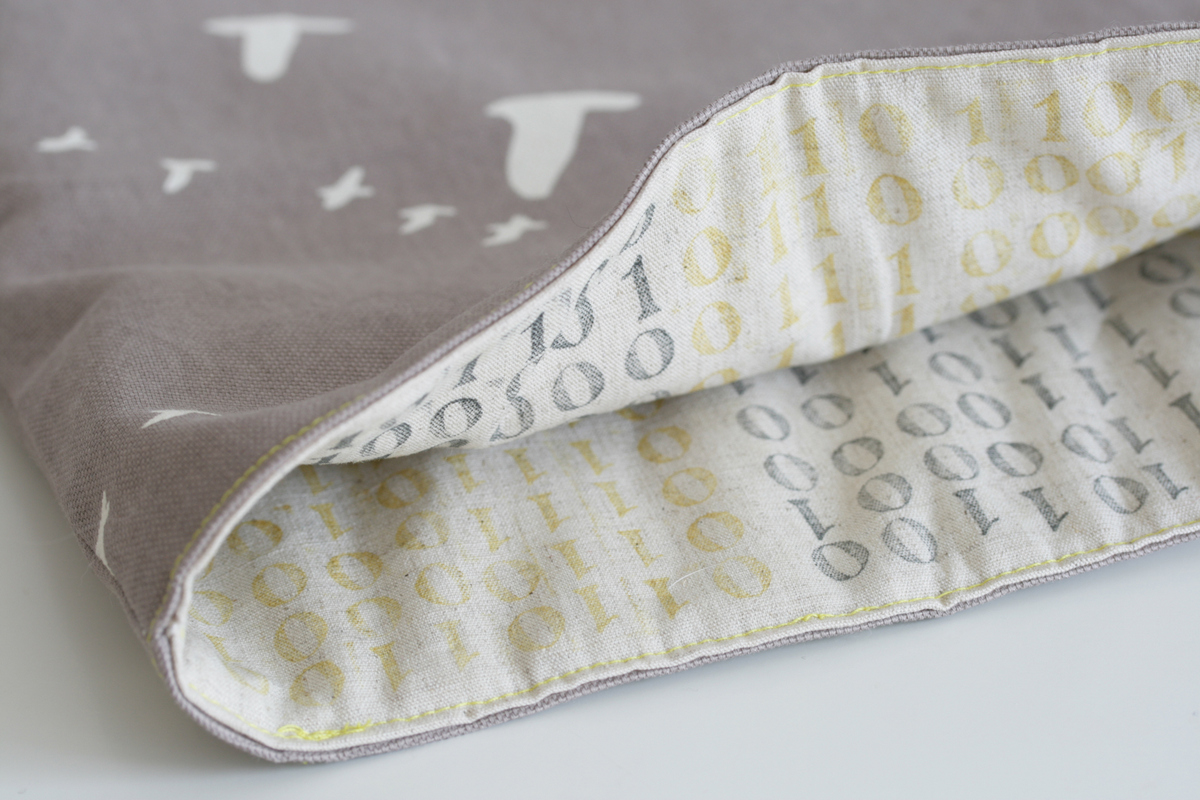
I’m sorry, is my binary code showing?
|
- 1/2 yard of Canvas Flight River Rock
- 1/2 yard of Organic Cotton/Organic Linen Poplin (or more of the Canvas Flight River Rock)
- 2 buttons
- Batting/Wadding (I used dream green recycled wadding)
- Organic Cotton Sewing Thread

Step 1. Measure all the way around your laptop (or tablet/kindle etc.) both horizontally and vertically. Add 1″ to both of these measurements and then divide by 2 to give you the dimensions you need to cut.

Step 2. Cut 2 rectangles from your canvas, 2 rectangles from your poplin (or 2 more from the canvas), and 2 from your batting/wadding. Cut 2, 3″ squares from the poplin and 2, 2″x 4″ rectangles from the poplin.
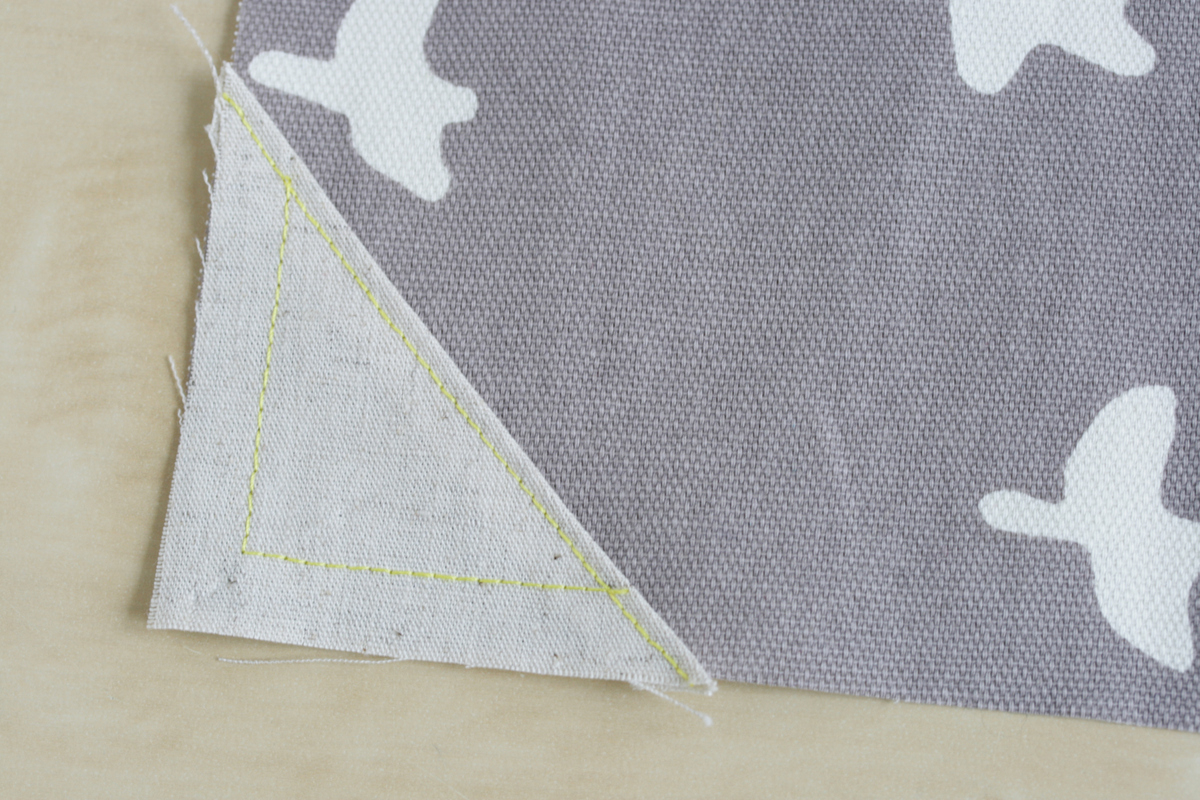
Step 3. Cut the 3″ rectangles in half diagonally so you have 4 triangles. Iron under 1/4″ seam allowance along the hypotenuse.

Step 4. Pin to the bottom corners of the Canvas rectangles. Top stitch close to the edge of the diagonal and then 1/2″ away from the other 2 edges.
Step 5. Place the two large rectangles of canvas right sides together, matching up the edges of the triangles and sew along the two sides and bottom edge with a 1/4″ seam allowance. Turn right side out.

Step 6. Place the two large rectangles of poplin right sides together. Trim 1/4″ off the top of each rectangle of wadding, line them up with the bottom of the poplin (one either side) and then sew along the two sides and bottom edge with a 1/4″ seam allowance.
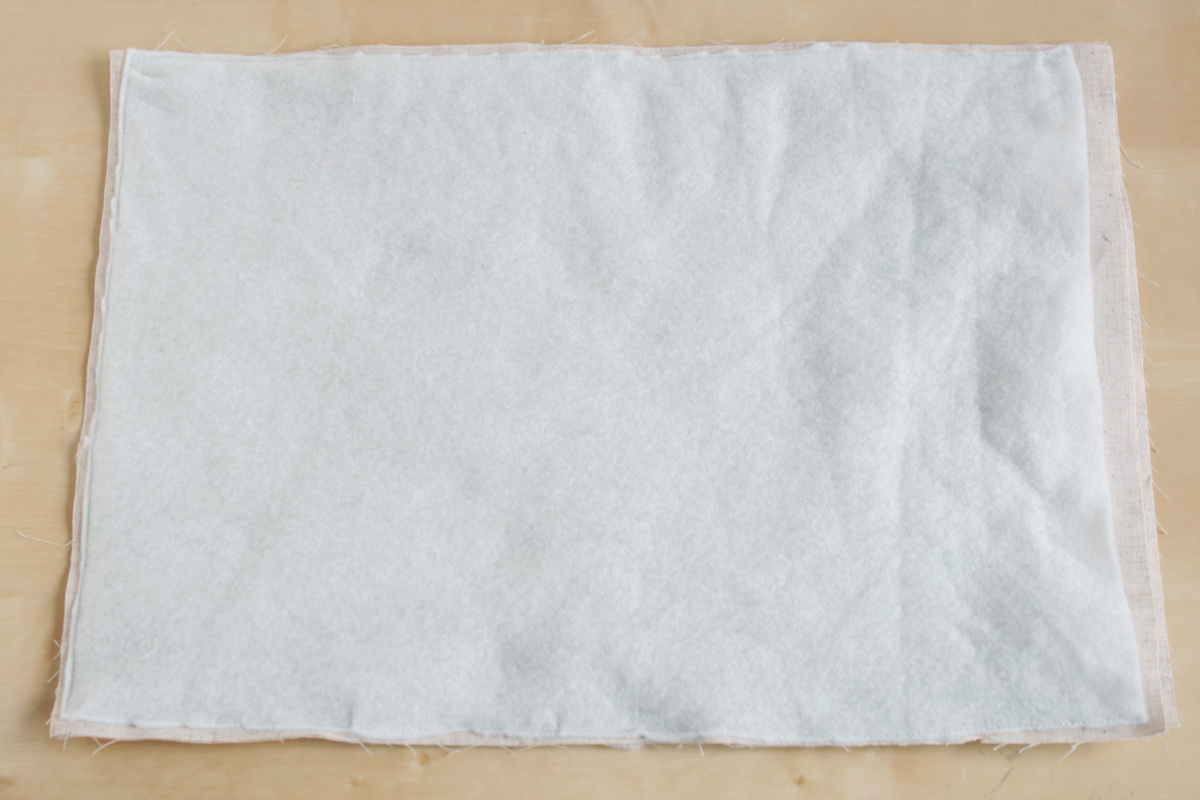
Step 7. Place the poplin pouch (still inside out) inside of the canvas pouch (now with right sides out). Fold the seam allowance on the poplin pouch over the wadding and the seam allowance for the canvas pouch inwards, press and top stitch close to the edge.

Step 8. Press in 1/4″ seam allowance on all sides of the small rectangles of poplin. Pair them up with wrong sides facing and top stitch all the way around the edge.

Step 9.
Mark the button hole on one end of each of the straps and sew using button hole stitch.
[If you don’t want to tackle button holes, you can always substitute two pieces of thin ribbon for each strap, sew them into the top seam on the sleeve and tie it on to the buttons instead]

Step 10.
Line the straps up on the back of the laptop sleeve, 3 inches from each side and 1 inch from the top edge. Pin in place and sew a square to secure to the sleeve.

Step 11.
Making sure you put the laptop in the sleeve, pull the straps over to the front of the sleeve and mark where to sew the buttons. Remove laptop and sew the buttons on, with either your sewing machine or by hand!