
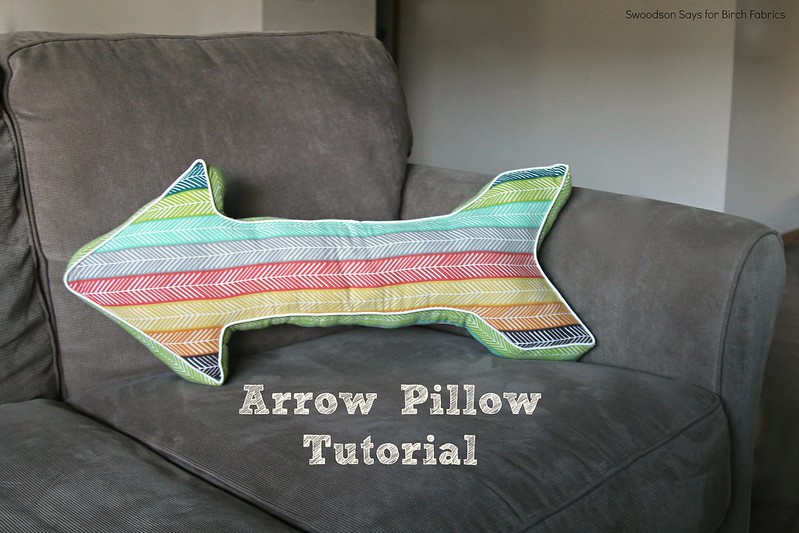
Hi! I’m Stephanie and I blog at Swoodson Says; I’m excited to be working with Birch Fabrics and the new Serengeti line; the vibrant colors are right up my alley. Ever since The Hunger Games movies came out, it seems like arrows are everywhere. I love the modern silhouette so I thought it would work well as a graphic pillow; I use it on our living room couch but it would also be adorable in a nursery or a dorm room!
Supplies
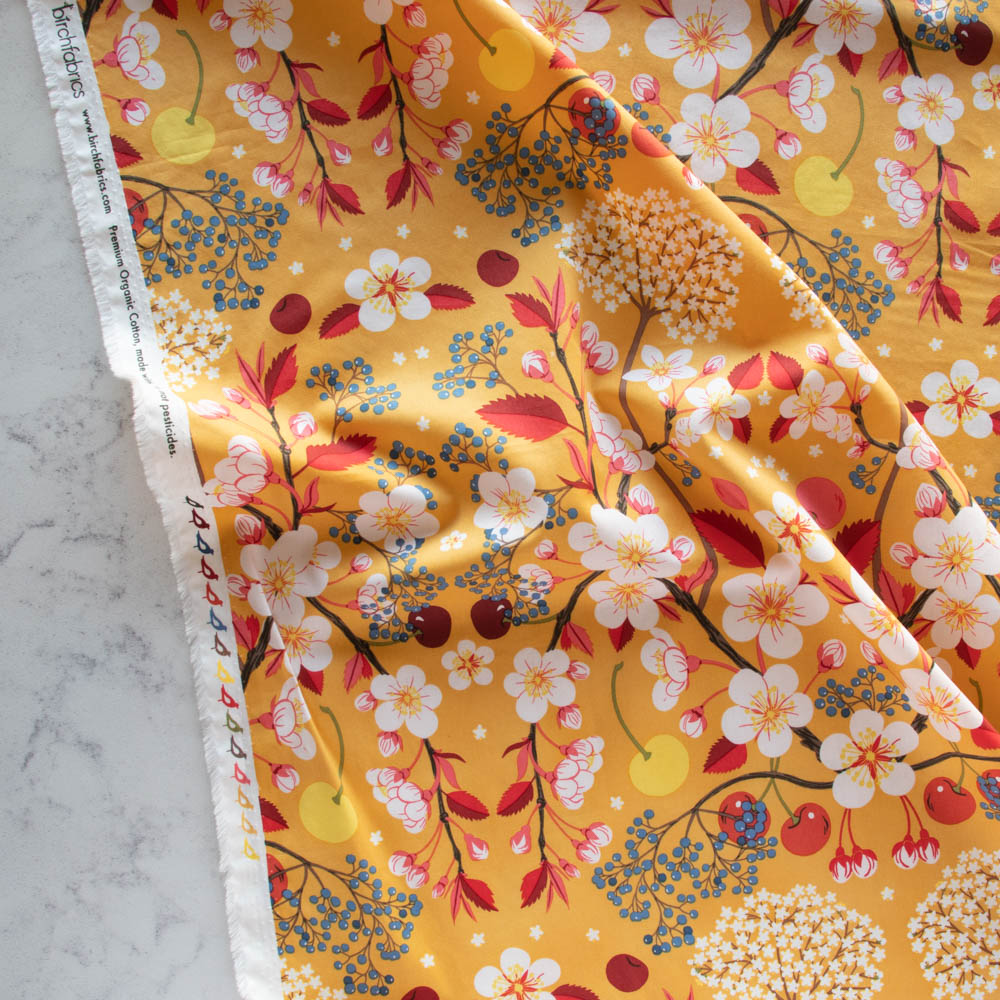
- 1 yard of woven fabric
- 5 yards of piping (two store-bought packages)
- 1 12 oz. bag of fiberfill
- Coordinating thread
- Hand sewing needle
- Scissors
- The printable pattern
Use a 1/4″ seam allowance throughout! Prep fabric and cut the mirrored pair of arrows and one long strip 3″ wide X 85 inches long. If you have a print that requires matching, cut the arrow pieces first and then the side strips. Depending which direction you laid your fabric, shrinkage, etc. you may need to piece three or two pieces together but you need to end up in a long strip that is 3” wide X 85 in long.
Steps
1. Pick a spot in the middle of the arrow’s body and start pinning or clipping the piping to the arrow with the fabric facing right side up and the piping raw edges lining up with the arrow’s raw edges.
2. When you get to corners, make small snips in the piping (being careful not to cut through the stitching) and gently bend it around.
3. Continue around the arrow and leave an inch of overlap before trimming.
4. Use a seam ripper and pull out a few stitches on one end of the piping, tug on the cord inside and trim it.

5/6. Fold that raw edge inwards a tiny bit and then lay it over top the other end, enveloping it so the cord has no empty spot and no raw edges are showing.
7. Sew all the way around, as close to the piping cord as possible – I used an invisible zipper foot. Making the tight corners/points secure will be easier if you slow down your stitching speed and use a shorter stitch length. Repeat steps to sew piping around the second arrow.
8. Pin or clip the long strip around the entire arrow, right sides together (RST).

9. Sew all the way around and as close to the piping cord as possible, keeping the outer edges aligned. Clip excess fabric in corners. Leave a couple inches to align the strips’ short edges together. (Leaving the excess instead of sewing the strip together first made it easier for me to get around the corners when I was testing this out).
10. Sew the short ends of the two strips, with RST and trim any excess in the strip.
11. Pin or clip the raw edge of the strip around the second arrow piece, all fabric RST with the piping inside. Double check that all arrow points are lining up between the two body pieces! Sew, leaving a 2-3 inch opening for turning it right side out.
12. Gently turn right side out and stuff firmly with poly-fill. Ladder-stitch closed.
Admire!


Thanks for sharing your tutorial with us Stephanie! We know we’ve got some arrow pillows in our sewing forecast. Cheers!