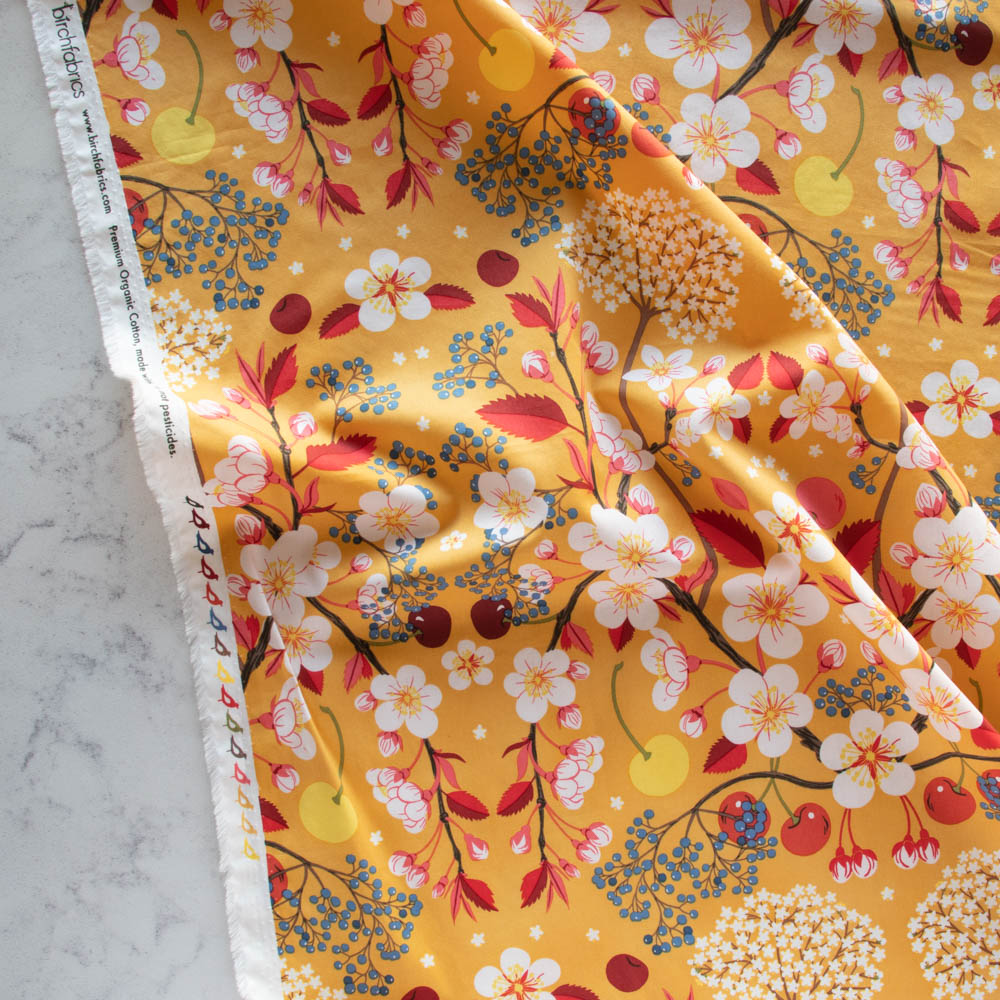

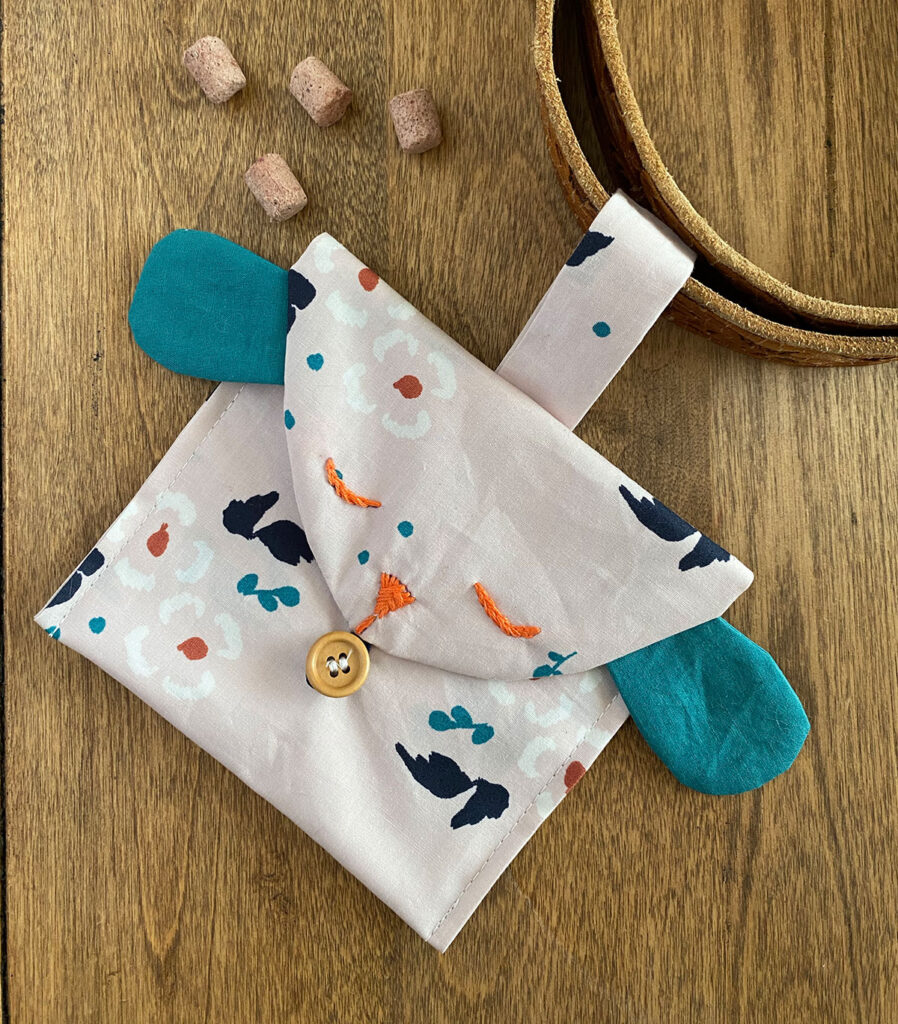
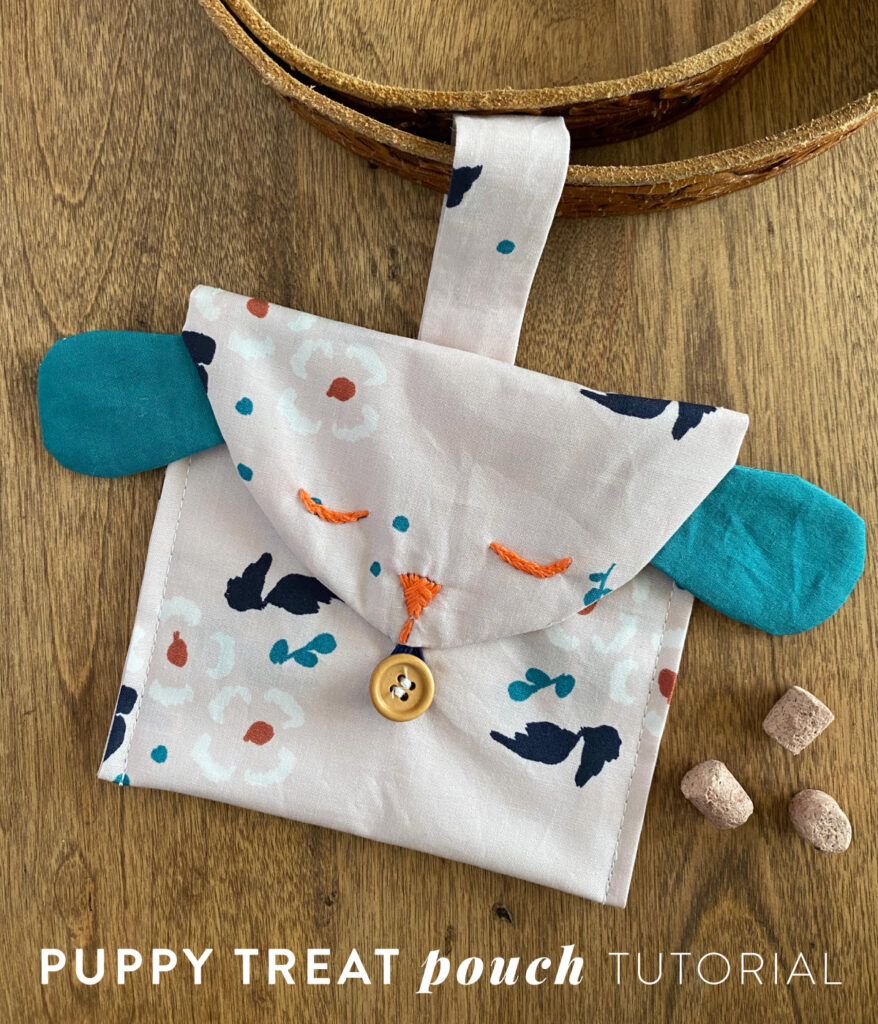
The Puppy Treat Pouch is a perfect beginner friendly or kid’s project that requires only the basic of sewing knowledge. Featuring the fabric from Dog Park by Jenny Ronen, this useful pouch can carry your training treats, spare change, or found treasures!
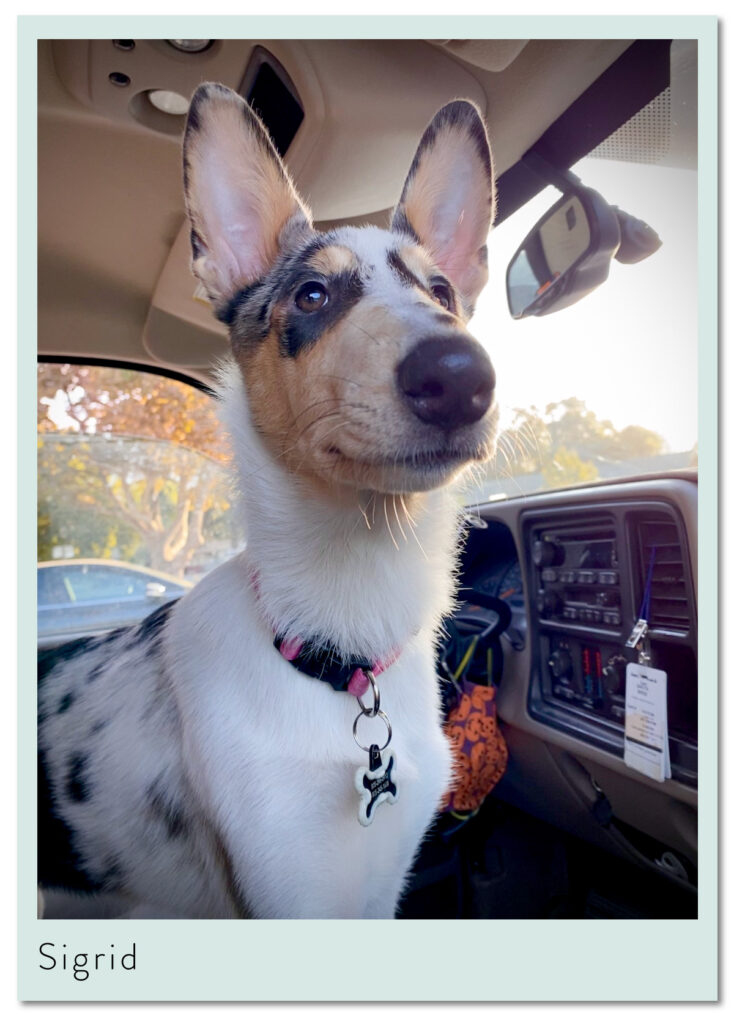
After we finalized Kitty Garden, it didn’t take us long to realize we really needed dog fabric, too. Take a close look at the sweet details in Run Free. There are tiny dogs, herding tiny sheep, in a tiny meadow. See the whole collection below, plus Jenny’s Basics that coordinate oh-so sweetly!


Supplies
- Printed pattern, which you find here.
- About 1/4 yard of fabric, either long quarter or fat quarter.
- Scrap fabric to make the ears (optional)
- Embroidery floss, needle, and hoop for the face details (optional)
- Button, around 1/2″ in diameter
- A couple inches of 1/4″ or smaller elastic, or an elastic hair tie
- Coordinating thread

Prep & Cutting
Print the 2 page PDF template and tape together, matching the black circle. Cut out the pouch and ear templates.
Trace out two of the main pouch pattern pieces on the main fabric. Transfer the eyes and nose using a fabric marker, chalk or transfer paper onto the curved right side of one. Add to an embroidery hoop and use your favorite stitch to make the eyes and nose. I used a simple chain stitch for the eyes, and made an arrowhead tack for the nose.

Cut
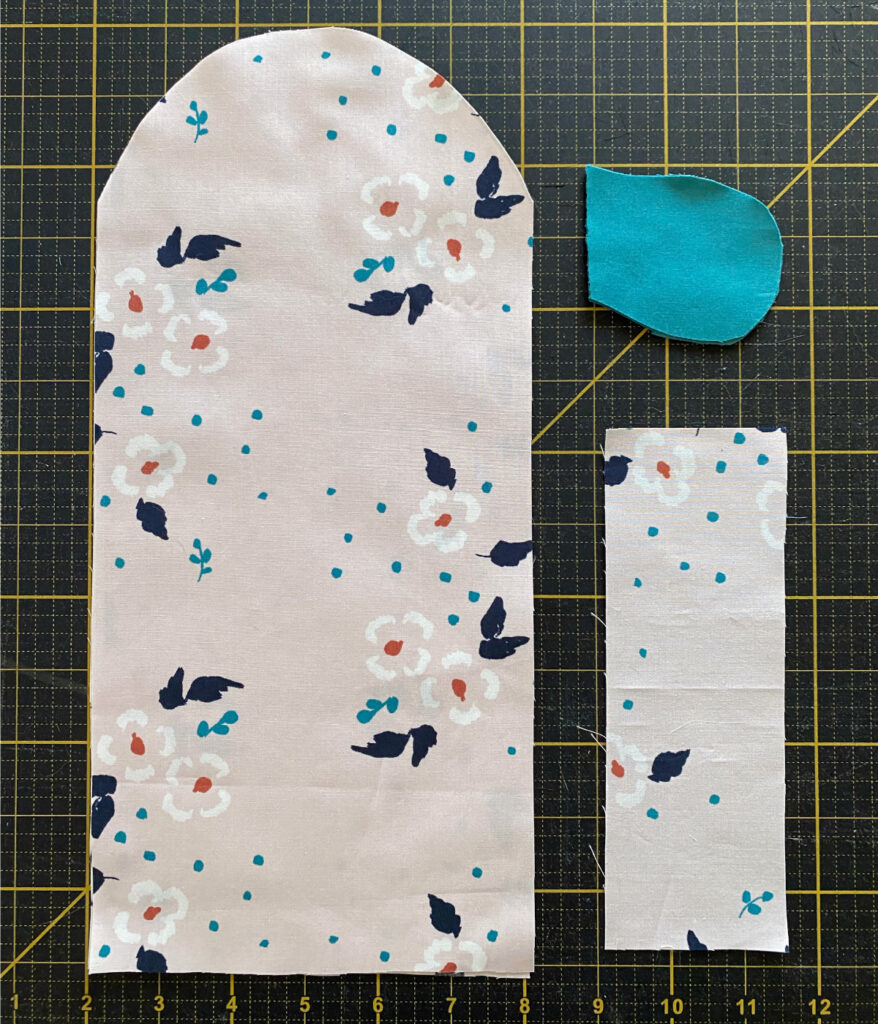
From the main fabric, cut out your traced pouch piece. This will be the outside of the pouch. Cut a second for the lining. Lastly, from your main fabric, cut a recangle that measures 7″ x 2.5″ wide for the belt loop.
Cut 4 ear pieces from the contrast scrap fabric.
Sew
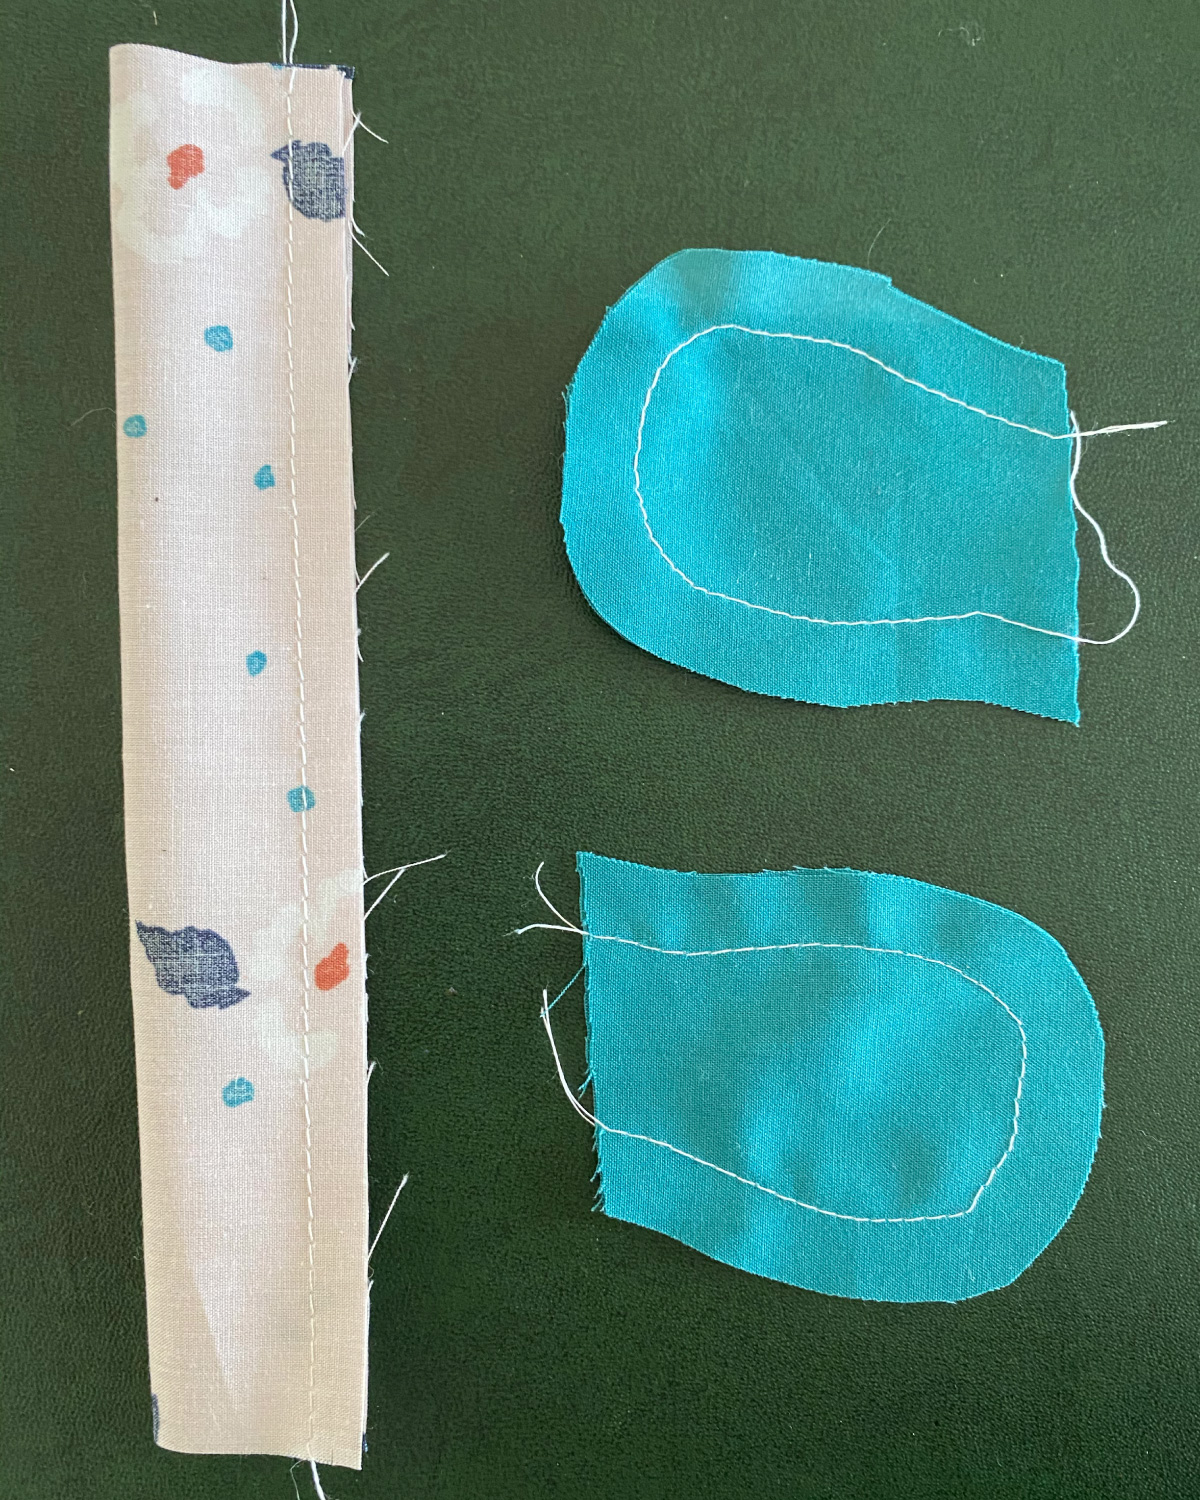
Fold in half long ways and sew the tab at 1/4″ from the edge.
Place 2 ear pieces right sides together, sewing 1/2″ from the edge. Repeat for the other ear, being sure that you have two mirroring left and right ears.
Trim the seam allowance on the ears so that one is 3/8″ and one is 1/4″. Clip about 3/8″ apart, all the way around. Be careful not to cut through the stitching!

Pull the ears through the opening and press.
Using a safety pin, pull your belt loop to the right side. Position the seam to the middle, and press. With the seam on the outside, fold the tab in half and sew along the open edges at 1/4″ seam allowance. You will now have a loop. Flip the loop so that the seam and the raw edge are on the inside, and press.

Baste the elastic loop and ears on the outside pouch piece, per the placement on the template.

With right sides together, layer your main pouch pieces and secure with pins. Sew all the way around, pivoting at the corners and around the curve as necessary; leaving a 3″ gap on the short end, opposite the face.
Clip your corners and along the curve, 3/8″ apart. Pull the pouch through the opening and press.
Stitch along the edge at 1/8″ enclosing the opening.
Finish
We are ready to do the finishing touches on our pouch! Tri fold the pouch to line up where you want to position your button and want everything to generally line up.
Use tape to secure your button, and a pin to mark the bottom placehold where the bottom of your bag will be. Sew your button and then sew the vertical side seams of your bag, being sure to back stitch at the beginning and end.


Now to attach the belt loop. Pin to the back of the bag, overlapping about 3/4″. Open up the top flap and sew on the loop, being careful not to catch the front of the bag.
TA-DA! You are done! So take your sweet pup, a handful of treats, and do some tricks!
Birch Dogs
A little gratitude for our daily inspiration. 🙂