


Hey guys! Jess here, from Craftiness is not Optional! I am so excited to share a few tips on sewing with knits, plus tutorial for both these cute dresses, today! I absolutely love the new Birch Fabric organic knits, they are dreamy to sew with and so comfy. My girls adored the dresses I made for them. So soft and luscious!
I had fun changing up a simple A-line dress in two different ways-I can’t even decide which is my favorite! Which is yours?

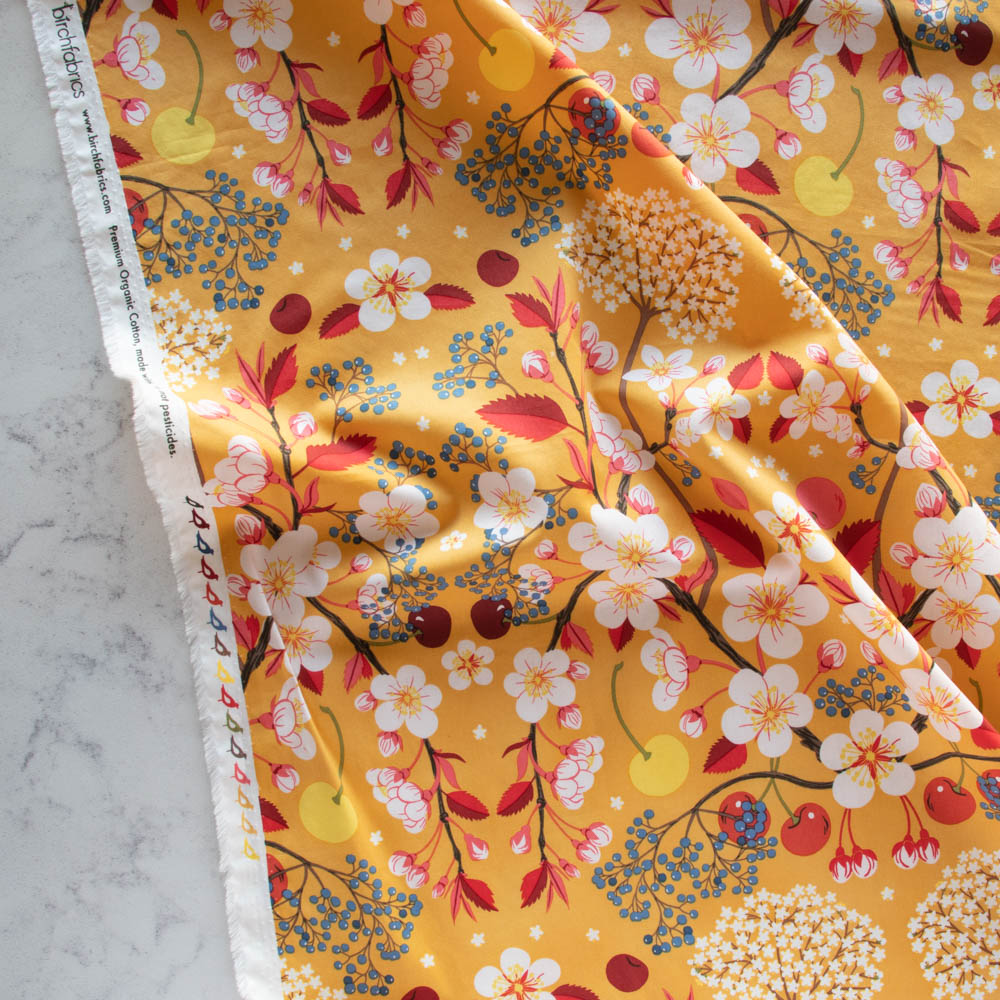
I used their gorgeous Poppies in Coral for this dress-which features some sweet ruffles on the front, gathered sleeves, and bias tape on the neckline and sleeves.


I adore this dress! I used Birch Fabrics, Elk Fam in Sun-and it features a color blocked front, easy banded sleeves, and a removable bow. (you can pin it where you want it and then remove it for washing!)


First, some tips for sewing with knits!
*Use a
ballpoint needle to sew knits. Regular needles can punch holes through
your knit fabric, instead, the ballpoint needles slide in between the
tiny loops that make up the fabric.
*Don’t forget to
press! Your iron is a great tool to use with knits, often times a good
steam can “set” a slightly wonky seam and make it lay nicely.
*You
can use spray starch to help sew with jersey knits with edges that
roll. Just spray and press with your iron to get it to lay flat!

*I
like to use a walking foot for my machine when I sew with knits-it
moves both the bottom and top layers of the fabric through at the same
time, eliminating a lot of the “slippery” problems that knits can have.

*I
generally use three stitches when sewing with knits-a straight stitch
(for side seams mostly, and even then I don’t use it much), the
lightning bolt stitch (looks like a wonky zig zag), and a regular zig
zag. It’s important that the garment be able to move and stretch with
you, and the lightning and zig zag stitches work best for that. You can
also use a serger, which creates stretchy seams, but I’m going to make
this top with the sewing machine only. I would recommend using some
scraps to play around with the stitches and see which one you like best!

*Use
a double needle for hems (See how I use it for the cap sleeves in this
tutorial) for a professional look. Most machines can work with double
needles, mine actually has a double needle setting, but read your
machine’s manual to find out how to set it up. The good thing about
double needles is that they create a stretchy seam, with two rows on
stitching on the top, and a zig zag on the underneath. It’s awesome.
I’ll show you how I set up to thread below!

I
jerry rigged a chopstick to hold an extra bobbin of matching thread off
to the side of the thread spool. You can use another spool of thread if
you have the same color, but it’s much cheaper to fill an extra bobbin
instead. I have an extra bobbin underneath to help it spin better, it
was getting a little stuck. MacGyver would be proud, right?

Anyways,
I thread the machine with both threads at the same time…then separate
the threads and put them through each needle so they don’t get tangled.


Read your sewing machine manual to set it for a double needle…I’ve broken a few needles by forgetting to format it! So do a double check before using one. 🙂

To make the pattern, fold a tee in half and trace around it, don’t forget to add seam allowances!

Then continue the side of the dress down to create an A-line shape. You can use a similar style to help you with the shape and length, but since it’s knit, it’s pretty forgiving!

Here’s a look at my simple A-line dress pattern-easy peasy! Label the fold and size.

Trace the armhole..

and draw out a sleeve shape like this one..

Then extend the curve up a little like so. It may take some playing around to get the right shape, or a feel for creating sleeve patterns, but this one is a forgiving sleeve, since it’s gathered.

Then cut out a front and back piece, two sleeves, and strips of fabric-for the collar and sleeve bands, I cut them on the bias-and 1.75″ wide, and for the ruffles, 1″ for the middle ruffle, then 3/4″ for the outside ruffles. For the ruffle strips, cut them twice as long as you want them to go down the front of the dress.

1. Next set your straight stitch to a long stitch and sew down the middle of a strip, then pull the thread to gather.
2. Fold the front dress piece in half and mark with a fabric pen or press with the iron.
3. Then match up the center of the ruffle with the center of the dress, and pin in place. Make sure the top of the ruffle lies flat where it will be covered with the bias tape.
4. Sew down the middle with a regular straight stitch, then remove the gathering stitches with a seam ripper. Repeat with the other two ruffles, placing them an equal distance from the middle ruffle.

1. Now make some bias tape for the neckline and sleeves…I like using my little gadget but you can also just fold in the long edges to the center and press with your iron, then in half again…I usually cut mine 1.75″ wide.
2. (not shown) Next, pin and sew one of the shoulder seams right sides together.
3.Then pin the bias tape in place around the neckline like so.
4.Then with a double needle, sew carefully around the neckline.

Switch back to a regular needle, and sew the other shoulder seam, right sides together.

Then hand sew the seam allowance to the back so that it lays flat.

Next sew a long, gathering stitch along the top and bottom of the sleeves and gather the bottom to fit the measurement of your child’s arm, plus 1.5″ of seam allowance and wearing ease.

Then gather the top to fit the armhole like so.

Pin in place, right sides together, then sew in place. Repeat for other sleeve.

Next, sew on the bias tape to the bottom of the sleeve-you can also do this before sewing into the armholes, but I forgot! lol. And with the sleeve, you don’t really need a double needle, so feel free to save yourself another needle swap out and sew it with a regular one. 🙂

Then pin the sides together, lining up the seams, and sew. Slowly!-over the bias tape sleeve band.

1. Here’s a trick to finish the bottom of a knit garment if you don’t intend to hem it. When you get to the bottom, stop with the needle down…
2.Then flip around the garment…
3….and sew back up about an inch…tada! No messy back stitching or bunching up.

But if you don’t want to leave the bottom raw, fold up and iron about an inch and sew with a double needle. Trim any extra fabric on the back side carefully and you’re done!
For the yellow dress:
I created the same A-line dress pattern, but in a different size, for Charlotte. Before cutting the front, I cut out a back piece, on the fold, with a back neckline. I then cut the pattern into two pieces, a few inches below the neckline like so:

Next I cut out the bottom portion of my main fabric, adding seam allowance to the top.

Then the top part of the dress (in white fabric), also on the fold, also with seam allowance added on the bottom!

I also made a sleeve pattern like the coral dress, and cut out two of those on the fold.

First, pin the top and bottom of your front dress piece right sides together and sew. (I like to use the lightning bolt stitch most of the time)

Then press the seam to the bottom and top stitch with a straight stitch. It helps if you steam it afterwards with the iron, too. Gets rid of wonkiness!

Next sew one of the shoulder seams right sides together like so.

Cut some pieces of fabric the width you’d like for the neckline. I cut mine 1″ wide and then folded it in half and ironed. Make sure the stretch of the fabric is going lengthwise.

Next match up the raw edges of the binding to the neckline and start sewing it on, I used the lightning bolt stitch again and a 1/4″ seam allowance here. Be sure to gently stretch the binding (not the dress!) while you sew.

Next I sewed it together same as the coral dress! Sew the other shoulder seam together, then sleeves, then sides, and hem. Except with a band similar to the neckline binding sewn to the bottom of the sleeves before putting them in. 🙂

Then I made a simple bow to pin to the front!
1. Cut a rectangle of fabric. The size depends on your preference, but mine was 5.5″x6.5″. I folded it in half width-wise, then sewed all the way around the three open edges. Clip corners.
2. Then cut a small slit in the middle of one side of the sewn piece like so. Make sure the slit is angled the way that your bow center will be.
3. Turn right side out through the slit and press.
4. Gather the bow up and using a hand needle, sew a few stitches to keep it in place.
5. Oh, and cut a strip of fabric to be your bow center, then fold in half lengthwise and stitch. Turn right side out and press.
6. Then sew one of the ends of the strip to the back of the bow. (the side with the slit)
7. Wrap the bow center around the bow, then trim off extra.
8. Then fold under the raw edge and sew into place.
I attached mine with a safety pin for washing purposes, but you could also hand sew it right onto the dress!
Hope you enjoyed seeing a few fun ways to embellish an easy A-line dress!
Come see more tutorials and projects over on Craftiness is not Optional!
Thank you for sharing with us Jess! Make sure to check out Craftiness Is Not Optional for lots of cute projects and inspiration!